Mixing & Mastering Tip #248 ·
The first steps of mastering: get the limited mix and level-match it

Ruslan Slatin
Mastering engineer at SLATIN, Madrid
You probably know I like to remind you about the basics. So today, let’s go through the FIRST steps of mastering, so we don’t miss anything important.
1. Always ask for a limited mix
This is the first step, and honestly, the MOST important one. I can’t stress this enough: without a client’s demo, you’re going nowhere.
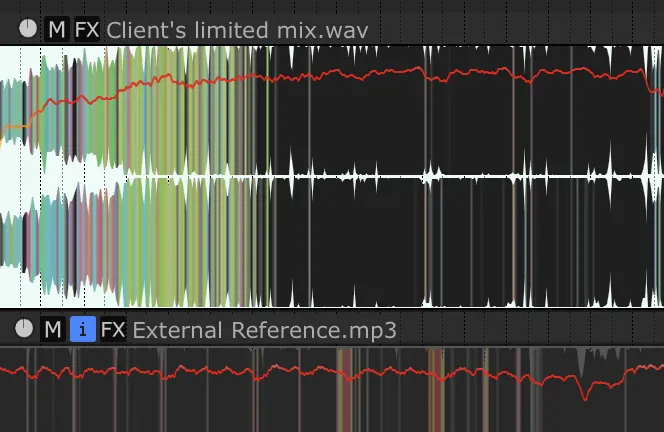
Your “demo reference” is the reality check for your master. It tells you where you’re coming from, where you’re going, and whether the decisions you’re making are working with or against your client’s vision.
So ALWAYS ask your client for their LIMITED mix. (If they don’t have one, just use the volume-matched mix.)
That will be your compass. The reference keeps you honest, because it gives you something to keep coming back to: “Is this actually better?”
Most importantly, always keep your client’s vision and ideas at the forefront.
2. Match the reference level
This is SUPER important. Take the client’s limited mix and match its level from your mix bus fader, before starting any mastering process.
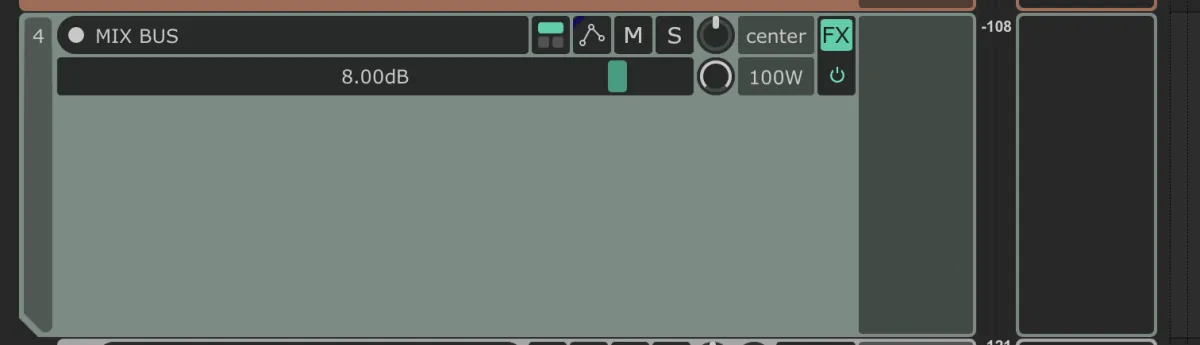
Why? Because that’s the level your client is already used to hearing. You’re starting from THEIR perspective, not yours.
It also gives you a much more honest way of judging your processing. If your master sounds “better” simply because it’s louder, that’s not really a win.
- Level-match first.
- THEN make decisions.
Sometimes you’ll receive a reference that is already distorted, clipped, or simply not working properly, and that’s where you have to decide: do you correct it, or do you preserve the original vision?
Whenever possible, I start with the second option: respect the client’s vision first. You’re not always there to completely reinvent the mix. Sometimes your job is simply to take what they gave you and improve it. The client will appreciate that.
Now you can master
Once those two steps are done, NOW you can actually start mastering. This is where the fun begins.
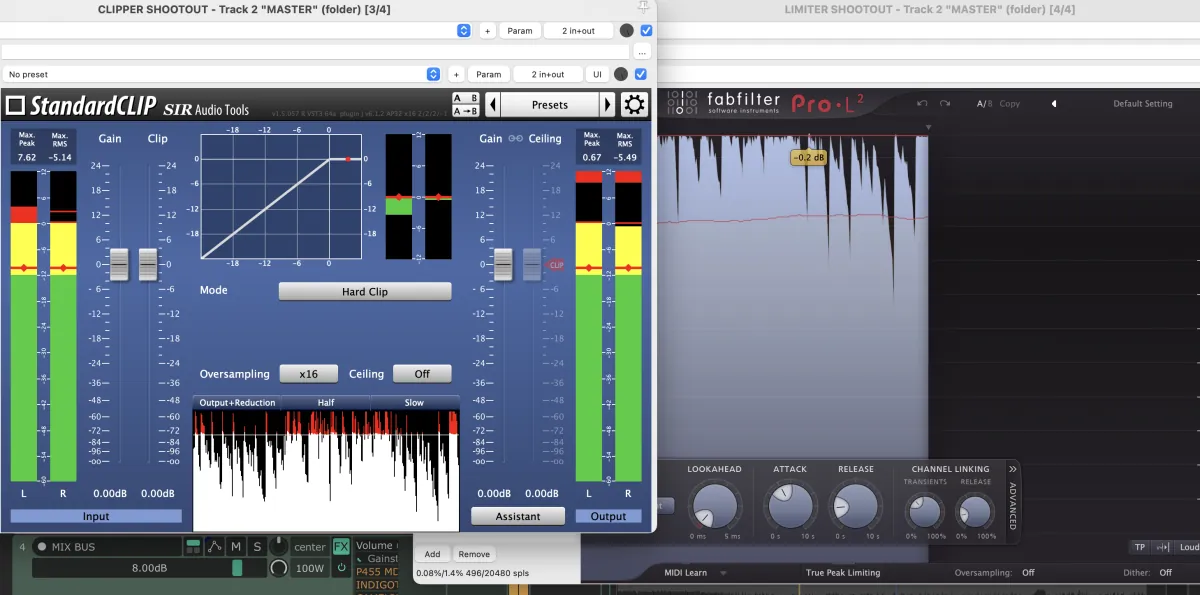
In loud genres, clipping before the limiter lets you control the peaks and sub transients before asking the limiter to do all the heavy lifting.
But here’s the important part: the clipper and limiter you choose MATTER. A LOT. One limiter might keep the low end beefy and controlled. Another might completely flatten it.
There isn’t one “magic” combination that works for everything. You have to listen, you have to try things, and you have to choose the tools that make THAT particular song sound better.
From there, every mastering decision should come from what the song actually needs. There is no “magic mastering chain” or plugin order. Maybe this song needs a little more weight, maybe the transients need controlling. Maybe it just needs… NOTHING.
And that’s important too. Don’t process something just for the sake of processing. Actually listen.
Want this on your own track?
I master more than 1,000 songs a year for artists and labels, from stems or a stereo mix. Send me your track and I'll tell you what it needs.
A new tip like this every week, free: join the newsletter.
Work with me
Whenever you're ready, here's how I can help.
 MentoringMix & Master AcceleratorWeekly video reviews of your tracks, live group calls, and the business side of a studio career.By applicationApply now
 Preset packFUSION150 hand-crafted Valhalla VintageVerb presets. Three clicks to the sound you already hear in your head.20€Get the pack
 CourseAdvanced MicrodynamicsFour hours on the micro-level movement that makes a mix feel alive. Joined by 220+ students.149€See the course
 CourseLow End MasteryKick and bass chemistry, so your low end lands on club rigs and earbuds alike. Joined by 500+ students.159€See the course
 SoftwareStudiOSThe software I run my own studio on: deliveries, client feedback, versions and invoices in one place.14 days freeTry StudiOS